
Assigning a lead
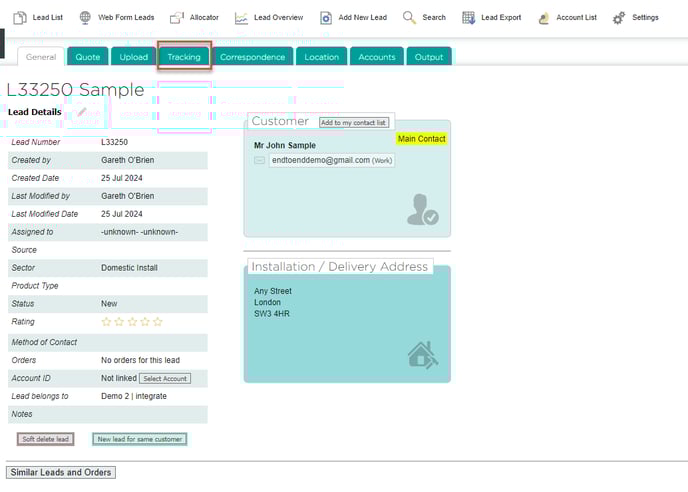
- Locate the lead, either using the main search function in the top right, or via the Lead List.
- From the main lead page, click Tracking.
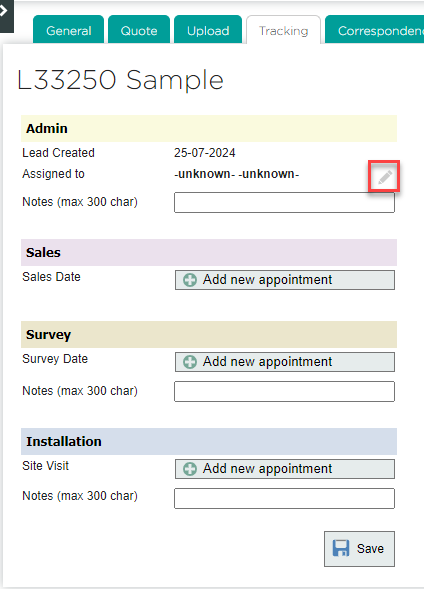
- Click the pencil icon.
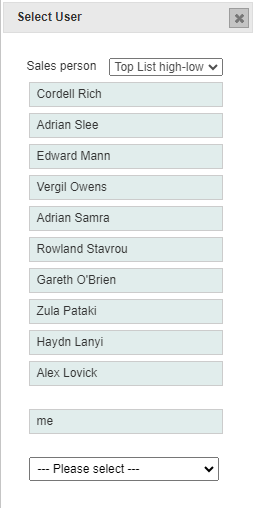
- The system will offer a selection of the most frequently assigned sales people: click one of the names, or access the full list of users via the drop-down menu at the bottom.
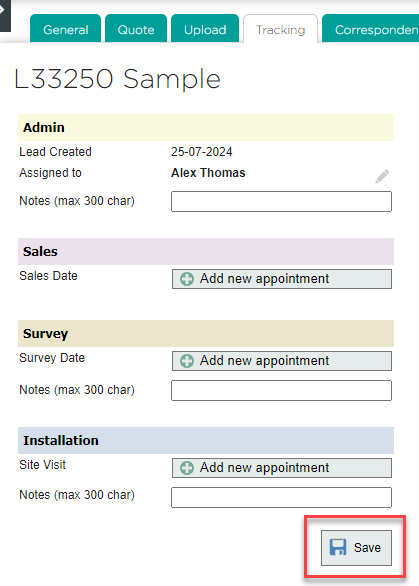
- Click Save. The system will ask if you wish to send an email notification to the selected sales person.
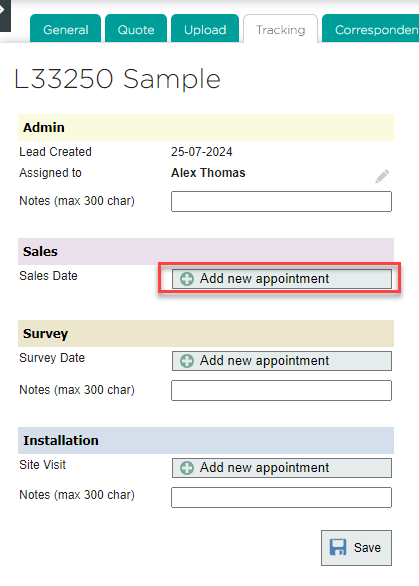
Adding a sales appointment
- From the Tracking tab of a lead, click Add new appointment under Sales.
- The calendar for this lead will open. Click on the desired date.

- Fill in the details on the right side of the screen. By default, the attendant of the appointment will be the person to whom the lead is assigned, but others can be added by clicking Add, and the default person can be removed by hovering your mouse over their name and clicking the X button.
Tip: if you untick the Confirmed box, the appointment will display in the calendar as TBC.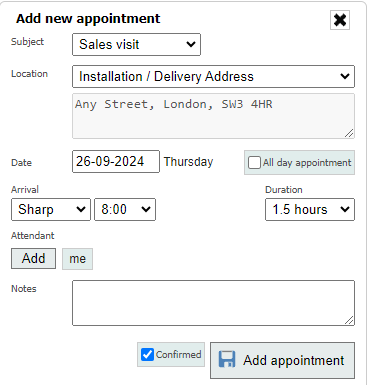
- Click Add Appointment. The appointment will appear in the calendar for that lead (accessible under the Tracking tab), and in the personal calendar of anyone attending the appointment.