
There are two ways to create appointments within integrate: within the Tracking tab of a Lead or Order, or directly within the main Calendar. Appointments will appear in the main calendar regardless of where they are created.
Tracking tab - useful for creating sales, survey or installation visits for a particular Lead or Order.
- From the tracking tab of the Lead or Order, click Lead / Order Calendar.


- Click the date of the appointment, and then fill in the details on the right, selecting the type of appointment, location, time, duration, and attendees.
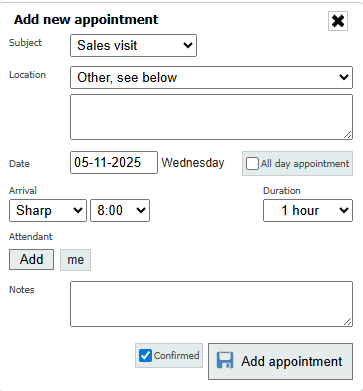
- The user who creates the appointment will be the default attendee, but can be removed by hovering the mouse over the "me" text and clicking the X.
- For provisional appointments, untick the "Confirmed" box - this will add "TBC" to the appointment.
- The Lead / Order calendar shows existing appointments associated with that Lead or Order. Click on an existing appointment to edit, copy, or delete it.
Main calendar - useful for adding general appointments which aren't necessarily associated with a customer.
- Click the Calendar button in the top right.

- Click the desired date and fill in the details.
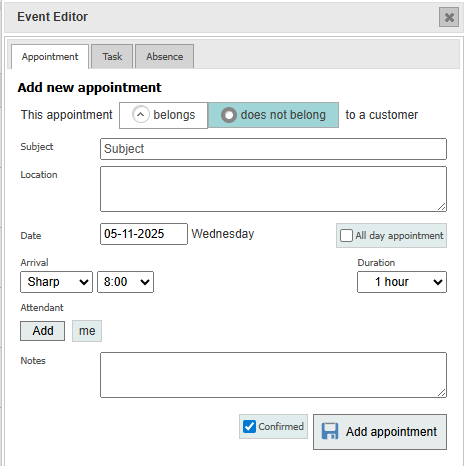
- The appointment can optionally be linked to a Lead or Order by saying that it "belongs" to a customer.
- The user who creates the appointment will be the default attendee, but can be removed by hovering the mouse over the "me" text and clicking the X.
- For provisional appointments, untick the "Confirmed" box - this will add "TBC" to the appointment.
- Click an existing appointment to edit, copy, or delete it.