Video Guide: Using Tasks and Reminders System
This video guide shows how to link tasks to a lead or order or create tasks independently as reminders.
Key Points: Creating a Stand-Alone Task
1. Open the tasks menu.
From integrateCRM home page, click the tasks (post-it note) icon in the top-right corner.

2. Go to the main task page.
In the dropdown panel, click main task page. This opens the full task list.

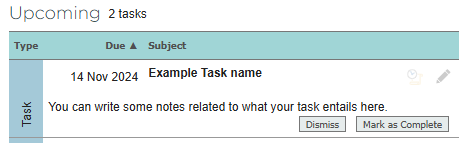
3. Understand the task overview.
The task page contains four key sections:
a. Action required – tasks due today or overdue. Overdue tasks display a yellow triangle with an exclamation mark.
b. Upcoming – tasks scheduled for future dates.
c. Show – filter tasks by user or view all organisation-wide tasks.
d. Create task – button used to create a new task.
4. Create a new task.
Click create task in the top-right corner.
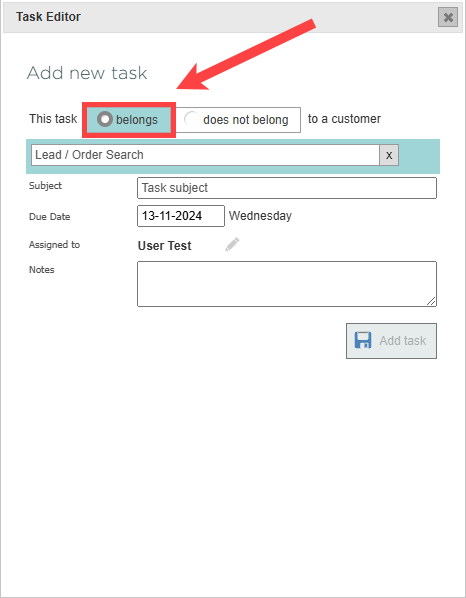
5. Complete the task editor.
The task editor contains five fields:
a. Belongs – choose whether the task is stand-alone or linked to a client.
b. Subject – the task name.
c. Due date – when the task must be completed.
d. Assigned to – the user responsible for completing the task.
e. Notes – additional information.
Click add task when finished.

The task will be added to the upcoming or action required columns based on its assigned due date.
Key Points: Creating a Lead-Assigned Task
Creating a task linked to a lead or order follows the same steps as above, with one additional action.
1. Open the task editor.
Click create task to open the task editor.
2. Assign the task to a lead or order.
In the belongs field, select this task belongs to a customer. A search bar appears. Type to find and select the correct lead or order.
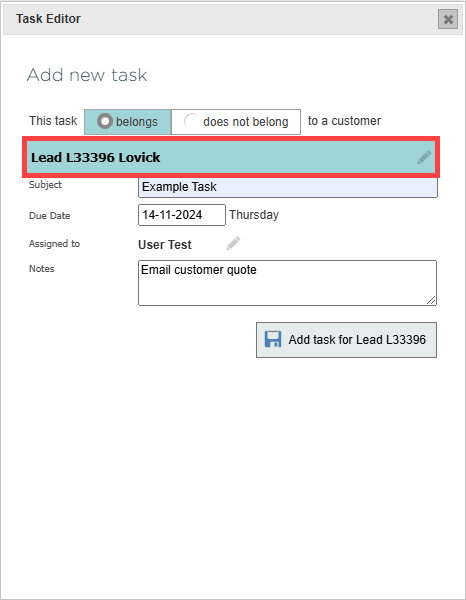
3. Finalise the task.
Complete the remaining fields, then click add task for lead or order.
Key Points: Creating a Task from the Correspondence Page
Tasks can also be created directly within a lead or order and optionally linked to a specific email.
1. Open the lead or order.
Use the lead list, order list, or the main search bar to locate and open the record.
2. Go to the correspondence page.
Click on correspondence.

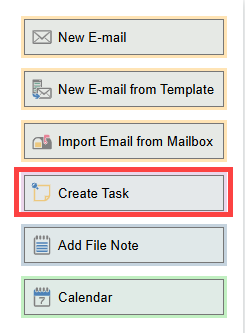
3. Create a task.
On the right-hand side, click create task.
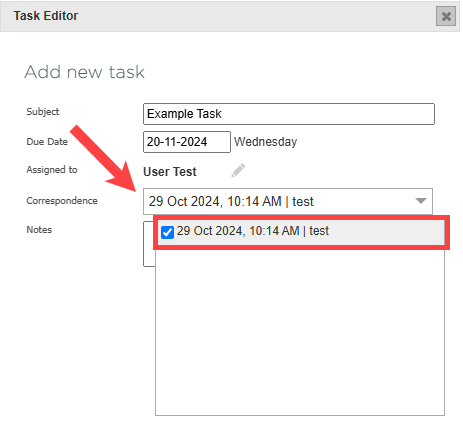
4. Link an email to an order or task.
When accessing the task editor through the correspondence tab, an additional correspondence field appears. In the dropdown list, choose an email already stored under the record’s correspondence tab to attach to an order or task. Associated emails can be viewed from the tasks tab.
5. Save the task.
Review the details and click add task.
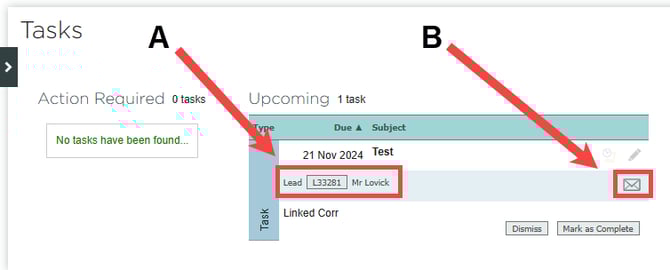
Key Points: Viewing Lead/Order and Email Links
When viewing tasks on the main task page:
a. Lead/order link (A) – shows the lead or order number and the customer name. Clicking the number opens the correspondence tab of that record.
b. Email link (B) – clicking the small email icon opens a correspondence preview of the linked email.