Key Points: Embedding an Image in a New Email Template
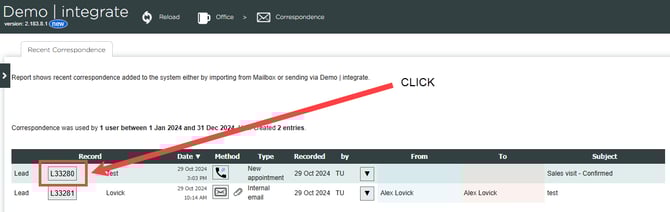
1. Go to the correspondence page.
From integrateCRM home page, open the correspondence page.

2. Open any lead.
Select any lead by clicking its L-number (e.g., L33280), located on the left-hand side of the record.
Note: The specific lead does not matter, this is only to access the template editor.
3. Create a new template.
On the lead’s correspondence page, scroll down and click the create new template button.

4. Upload your image.
In the attached files section, click choose file, then select the image from your computer and click open.
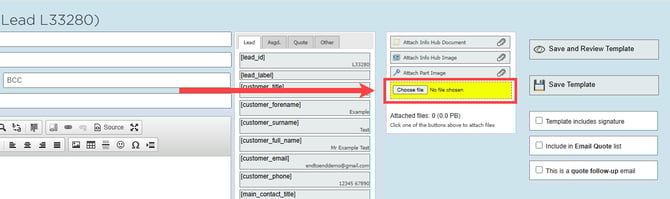
5. Copy the image link.
When the image appears in the attached files list, hover over its name and select copy link address.

6. Insert the image into the template.
In the template creator, click the image icon in the bottom toolbar to open image properties menu.
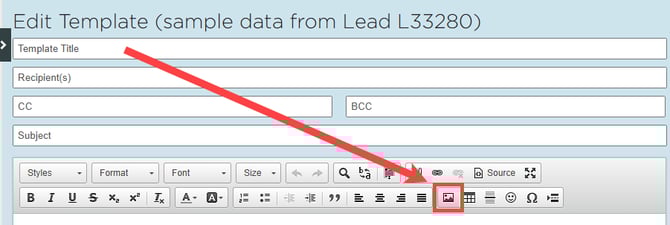
Paste the copied link into the URL field. Click OK to embed your image within the template.
Note: Adjust width and height to control how the image displays.

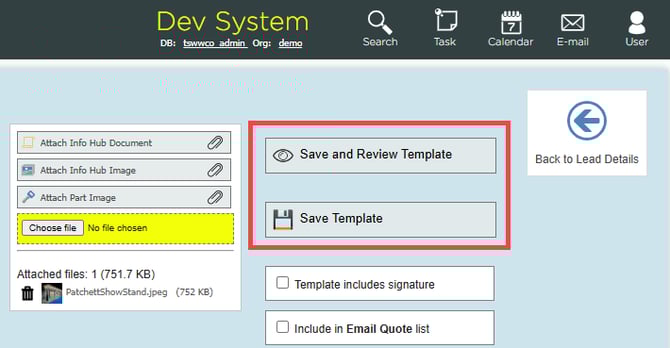
7. Save the template.
Add any additional content, then click save template in the top-left corner.