Ironmongery is added to a drawing in integrate via the customer-facing Ironmongery menu, which is accessed within the Finish and Ironmongery section of the Drawing Board. Ironmongery added here is customer-facing, meaning that it will appear on the quote document. 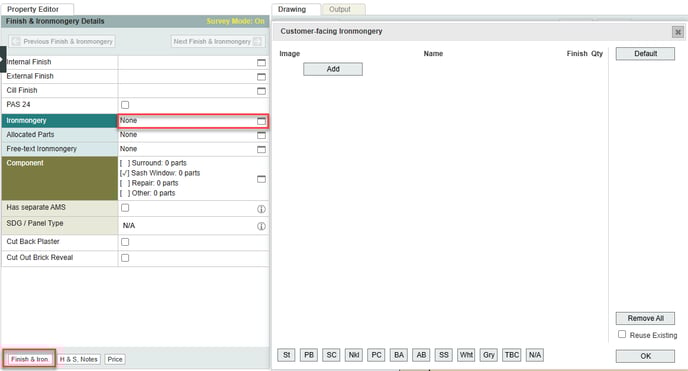
Ironmongery can also be added via the Allocated Parts menu - this will not appear on the quote, but will still appear on production outputs such as the Ironmongery Pick List.
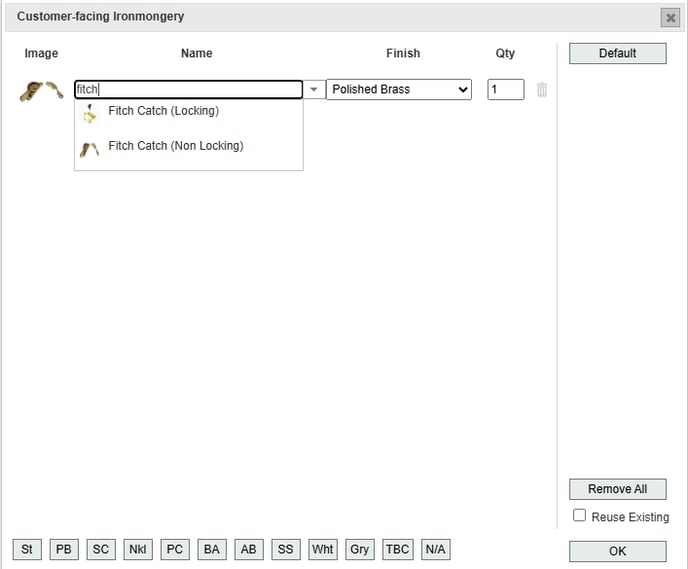
Ironmongery can be added manually by clicking the Add button and searching the list of parts. Quantity and finish are updated on the right. The shortcut buttons on the bottom allow you to quickly update the finish of all parts with a single click.
You can also click the Default button to add a default selection of ironmongery to the drawing based on the item type. This selection is configured in the Default Ironmongery page: from the main menu, go to DrawingBoard Config > Default Ironmongery.  Here, you can write rules which assign a certain type of hardware if a particular condition is true. You can also add a Test Quote at the top of the page to test which rules would trigger for that drawing. Remember, these rules are only activated in the drawing when you click the Default button in the ironmongery menu (unlike the Part Allocator rules, which are triggered automatically whenever the drawing is edited.)
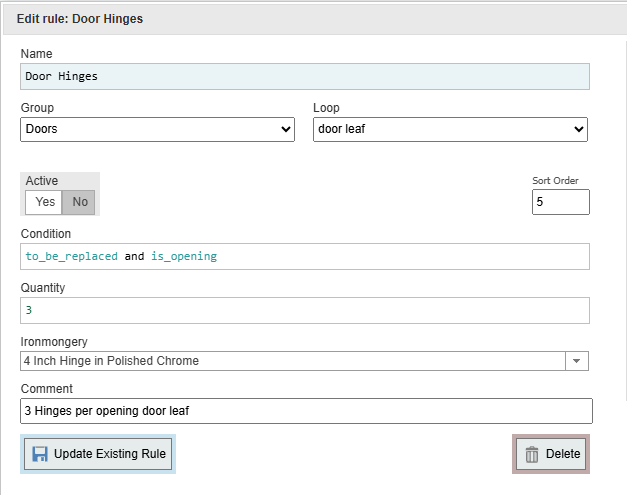
Example: this rule assigns 3 x 4 inch hinges in polished chrome for each new door leaf that isn't fixed.
For a more detailed guide on writing rules, see Working with rule editors.
Ironmongery ranges
Sometimes you might want to have more than one default ironmongery selection for a certain type of window or door, such as a contemporary selection and a traditional selection. This can be set up using Ironmongery ranges (please note that these are unrelated to the product ranges which can also be configured in integrate). From the main page, go to Lookup Editor > Ironmongery Range.
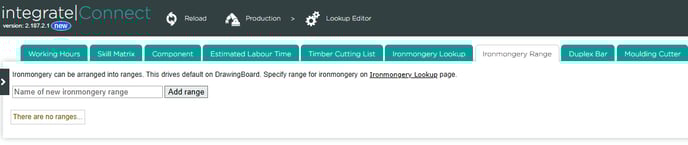
Type the name of your first range, and then click Add range. You can then click the pencil button to edit the range and decide what types of items that range is applicable for (the option will only appear in the ironmongery menu for the selected item types). 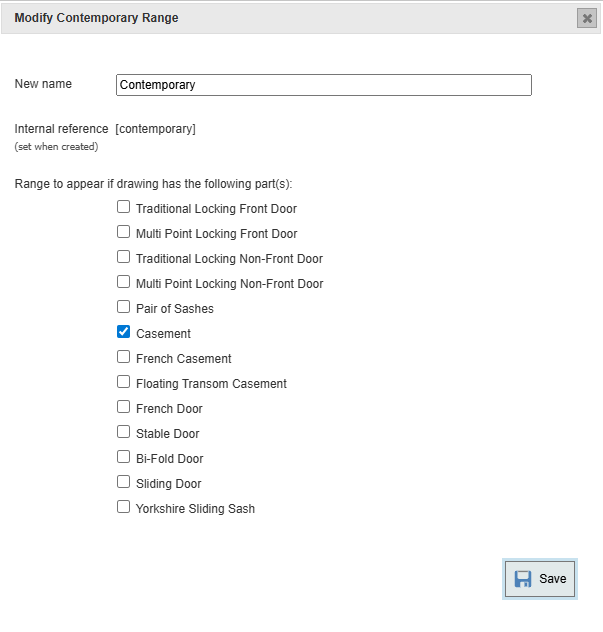
After adding your ranges, go back to the Default Ironmongery rule editor, and by using the search bar on the right you will be able to find a variable for each ironmongery range that you have added. Using these variables will specify that the rule will only be triggered if the user clicks the button for that particular ironmongery range in the drawing.
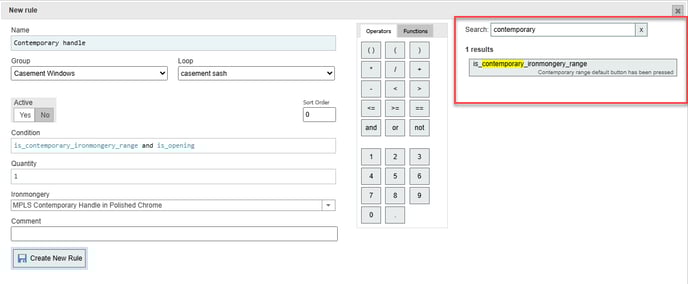
Please note that when you enable an ironmongery range for a certain type of item, the standard Default button will not be available in the drawings for those items, but any rules which don't specify an ironmongery range will always trigger regardless of which range default button is clicked.