Video Guide: Creating and Managing Leads
This video covers:
a. Adding commercial and homeowner leads
b. Finding and allocating leads and enquiries
c. Searching for existing leads
d. Creating a new lead for an existing customer
e. How users receive leads via email
Key Points: Creating a Lead
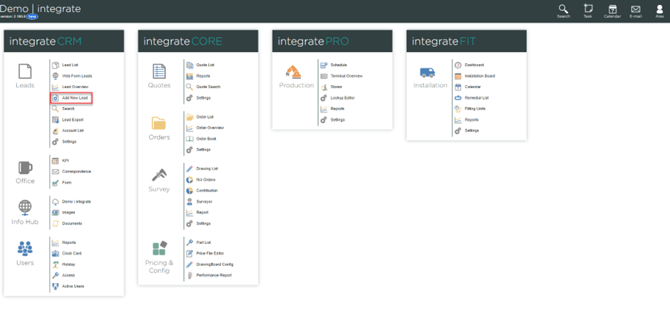
1. Add new lead.
From integrateCRM home page, click add new lead.
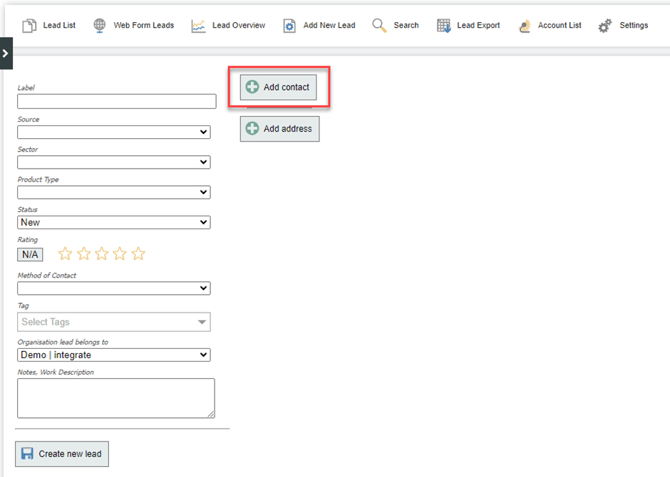
2. Add contact.
Click add contact.
3. Choose the contact type.
On the right-hand side of the screen, select human for a homeowner or organisation for a business. Enter the contact’s name and details, then click create box.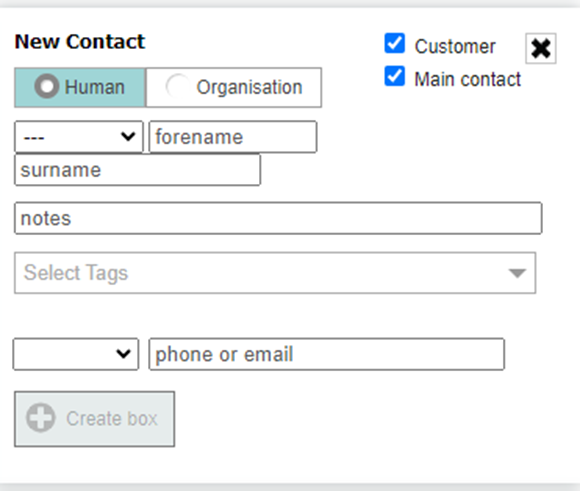
4. Set the main contact.
The first contact you create is automatically set as the main contact. To change it, add another contact and tick main contact for that person (useful to record the main contact person for organisations).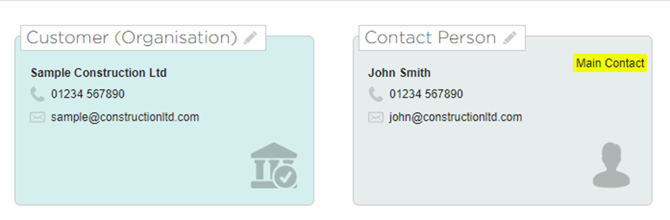
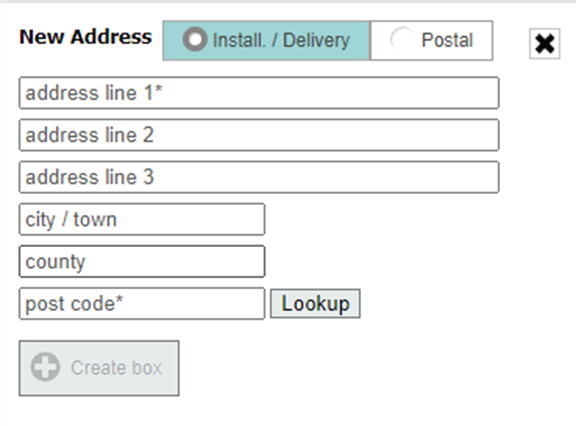
5. Add an address.
Click add address, complete the address fields on the right, and click create box. You may add multiple addresses (for example, installation and correspondence).
6. Complete the details.
Complete any fields on the left (for example, source, method of contact). These fields are optional and can be filled later. When ready, click create new lead.
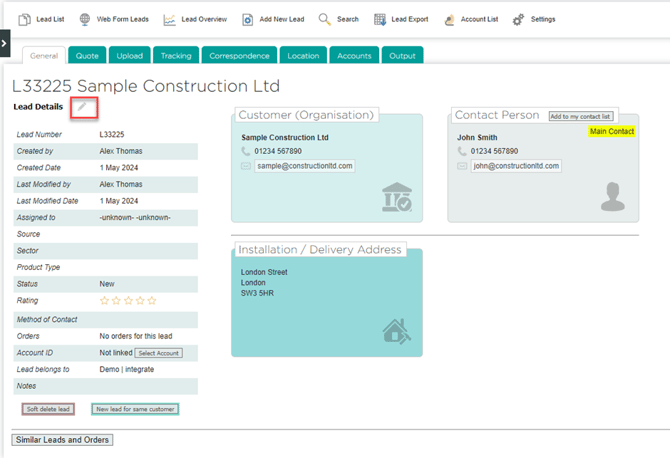
The system assigns an automatic L reference number. To edit the lead later, click the pencil icon next to lead details.